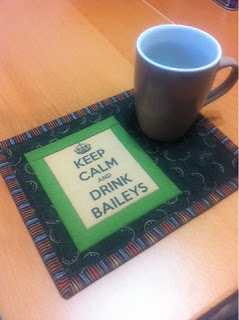
Recently I made a few mug rugs with a little saying on them that I printed onto printable fabric.
 |
| Bailey's Mug Rug - SORRY, SOLD OUT! |
I also found some photos from my garden over the last few years and decided to see how they would look as mug rugs.
 |
| Floral Photo Mug Rugs |
These little sayings about how to keep calm are popping up all over my social media & I grabbed this one as my starting point. You can always use your computer to make something that's totally original, dress it up with a fancy font and save it to print whenever you need it.
To grab a photo from the web - first check for copyright. Not all images are free for the taking, so take the time to go to the original source of the photo and ask. When you have your permission, go to the image you want and right click it. You should get a little pop up window that has an option to SAVE this image to your computer. Please save it somewhere you can find it back, like on your desktop and maybe take the time to give it a descriptive name, especially if the original file name is a series of letters & numbers that mean nothing to you. Better yet, use one of your own original photos and you won't have to worry about copyright.

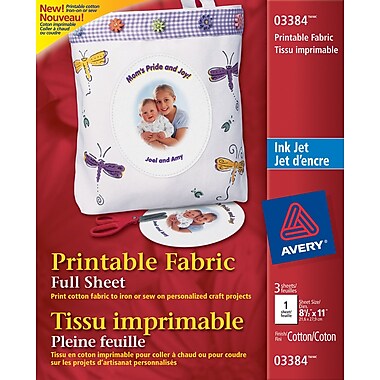
You can pick up printable fabric from an office supply store like Staples, or a craft supply store like Michael's or from your local quilting shop. These are all set up with fabric fused to a paper back so they will feed through your printer easily and without any fuss. I've tried printing on my own fabric with a product called "Bubble Jet Set" and fabric ironed onto freezer paper and the results were not near as good - but you may have a different printer and may get better results than I did.
 |
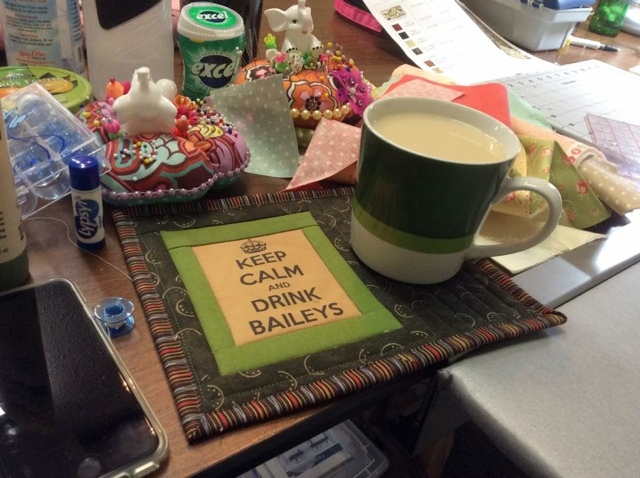
| Bailey's Mug Rug in use! |
Use your word processor to set up your page. A single sheet of printable 8.5"x11" fabric will make 4 labels, so make all four the same or find four different images to print. I reset my page margins on my document to .5" and added my first picture. I clicked on the picture and used the little boxes on the corners to stretch and size the picture until it was close to 3.5"x4.75". If you only use the corners to change the size of your picture, you will keep the proportions and it won't stretch out too long or too wide. If you use the side arrows to change the size, you will get stretching and the final picture will not have the same proportions as the original. If that happens, just use CTRL Z (PC users) or COMMAND Z (Mac Users) to go back a step or delete the picture and start over by importing the original picture again.
When you have the photo sized right, select it again and use CTRL C to copy (or right click and select copy). Paste it 3 more times so you have 4 pictures on your page. Or if you are doing four different pictures, add them one at a time and resize until they are all completed. You want at least 1/2" clear space between them so you have room for seam allowances when you are sewing.
 |
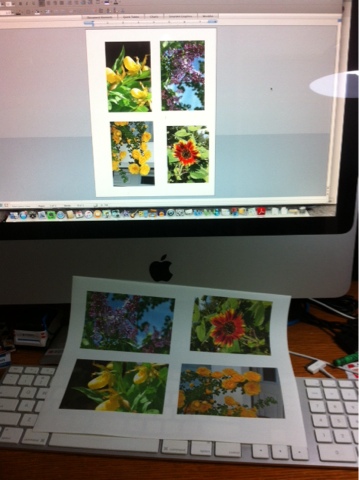
| Here I am printing some photos taken in my garden onto a fabric sheet. |
At this point, make sure your document is SAVED so you don't loose your work - I like to save every time I complete a step so I don't have to start over if something doesn't go right. If it all looks great on your screen, print out on a piece of plain paper to make sure your printer has enough of all ink colours to make a good print and to make sure you've sized and spaced your pictures so there is room for a seam allowance around each one. Make adjustments to your document as needed and then print on your printable fabric.
Now, you can cut 1/4" around each picture. I leave the paper backing on until it is time to sew the pieces together.
Alternate method to set up page for printing - use your photo program and print using it's presets.
Depending on your picture and the size you want your mug rug, the next steps will be up to you for measurements. I like my mug rugs to be 7"x9", but will often "eyeball" it until I have the mug rug together and quilted and do my final trim to size right before I adds binding.
I placed my picture on the left side of the mug rug. Removing the paper backing first, I add a strip of background fabric to the top, bottom & left side of the picture. Then, I add a piece of fabric to the right side of the picture so the unquilted piece is slightly larger (about 1/2") than the finished size I want. (For me, a good mug rug size is 7"x9" so that I can use 1 strip of 2.25" fabric by the width of the bolt, usually 42" for the binding.)
Quilt as desired! I quilted in the ditch around the picture and free motion quilted the background. I've also made these with straight line quilting that echoed around the picture.
Trim to the finished size you want and add binding.
Gift to your fav person or keep for yourself! Make yours with a vacation photo, pet photo, special someone - the possibilities are endless!
--Ann


No comments:
Post a Comment